Showing posts with label Primal. Show all posts

Monday, July 11, 2011

Summertime Hotdogs and Butternut Squash Fries

I thought I would share one of my favorite summer time meals....butternut squash fries, ranch dressing and Applegate Hot Dogs (organic grass fed beef with no sugar added) bbq'ed on the grill with some Bubbie's dill relish (no sugar added and with active cultures). YUM!
Note: Please verify that hot dogs (the casing in particular) are legal.


Thursday, April 14, 2011

Recipe Review: Chili Chili Bang Bang


I came across this fun blog a few months ago and tried the Breakfast Stuffed Peppers and Carrot Pecan Muffins, I saved this recipe to try later. Chili Chili Bang Bang not only has a fun name but turned out very flavorful and the recipe makes plenty, I froze most of it for quick meals later on. I garnished mine with some SCD yogurt, chopped scallions and bacon bits. Whole Foods carries a pre-cooked nitrate free bag of bacon bits that is great for salads or scrambled eggs. Thanks Primal Kitchen Chaos for a great recipe!

Saturday, April 9, 2011

Death of a Cookbook Granola


Recently I was asked about the cookbook I started last year. I have been saving a few choice recipes to put into it but have decided that this isn't the time for me to take the time to put it together. So....I will be posting the recipes I was saving over the next few weeks.

Here is my very favorite one. I like my granola nutty, cinnamony, clumpy and crunchy. There are so many variations to granola and granola bars but this is my very favorite. I keep this on hand as a staple, it is great on the go and even a meal in a pinch. It is best to soak and dry all the nuts before hand, I always do and I think it is easier to digest that way. Here are the instructions on soaking nuts and here is more information on why soaking is preferable.

Crunchy, Nutty, Cinnamony, Granola

Ingredients:

2/3 c. water
1/2 c. coconut or olive oil
1/3 - 1/2 c. honey
1/2 tsp. salt
1 T. cinnamon
2 tsp. vanilla
1/2 c. almond flour (You can make your own by grinding almonds in a blender, this is what makes the clumps so don't leave it out if you like your granola clumpy)
1 c. sunflower seeds (soaked and dried)
1 c. coconut, unsweetened and dried
2 c. slivered or sliced almonds (soaked and dried)
2 c. walnuts (soaked and dried)
2 c. pecans (soaked and dried)
1/2 c. sesame seeds
1/4 - 1/2 c. dried cranberries
1 c. cashews (soaked and dried)
1 c. pumpkin seeds

Method:
Combine water, oil, honey, salt, and cinnamon in a saucepan over low heat. Bring to a boil and then remove from heat, stir in the vanilla. In the largest bowl you can find combine the remaining ingredients. Pour liquid over the mixed dry ingredients and mix well. You can use a dehydrator to finish the granola which is my favorite way, it really makes it crunchy. Following manufacturers directions dry 8-12 hours in dehydrator. Or spread granola onto two large cookie sheets and bake as low as your oven will go (170-250 degrees) stirring every 30 minutes for 1-2 hours.

Monday, March 14, 2011

Recipe Review: Coconut Butter Blondies


I have been looking for recipes lower in sugar these days, and this one is a definite keeper. Coconut Butter Blondies with Coconut Buttercream Frosting from The Food Lovers' Primal Palate is sweetened with dates, stevia, and applesauce. I left out the stevia because I don't care for it's taste and I thought they were plenty sweet. The texture is unlike any gluten free dessert I have had, it is very "spongy" but not wet and I enjoyed something a little different. For the frosting I made it just as in the recipe but added 2 drops orange essential oil (always make sure your oils are food grade before using in cooking) for a bit more flavor.

Thanks Food Lovers', I will be enjoying this recipe again and again.

Friday, March 4, 2011

Recipe Review: Cucumber Avocado Salad From Shelly's Belly


When I saw this post from Shelly's Belly I couldn't wait to give it a try. I used a mandolin to "matchstick" the cucumber, mashed up the avocado and it was practically done. So simple and easy.

This satisfying salad has become one of my favorites! I have stuck to the original recipe so far but am considering adding some tomato, olives, or even a few dashes of hot pepper sauce. Thank you Shelly for an amazing recipe that is quickly becoming a staple.

Saturday, February 26, 2011

Raspberry Truffles


This recipe is a spin off the one here at Nourishing Gourmet. I made the original recipe with chocolate that was 85% cocoa and they were very rich and almost bitter. With this recipe I used the 70% cocoa chocolate and coconut cream instead of dairy cream, and I think they turned out better. I rolled some in coconut and some in cocoa, the coconut ones were gone first. Enjoy!

Raspberry Truffles

Ingredients:
6 oz good quality chocolate, 70% or darker
3 T. coconut oil
1/2 tsp. vanilla extract
2 tsp. raspberry extract, divided
1/4 c. coconut cream (just open a can of coconut milk and drain off the clear liquid, what you have left is the cream)
1/2 c. unsweetened, shredded coconut

Method:

1. Combine chocolate and coconut oil in the top of a double boiler set over medium heat. Stir until chocolate is completely melted.
2. Remove from heat and add coconut cream, vanilla, and 1 1/2 tsp. raspberry extract. Stir until completely combined.
3. Place in the refrigerator for 2 hours and then check to see if it is ready. You want a firm mixture but not a hard one. Refrigerate longer if needed.
4. Combine the coconut and remaining 1/2 tsp. raspberry extract in a small covered container or baggie. Shake until coconut is coated. Place in a small bowl.
5. When the chocolate mixture is ready scoop into balls using a melon baller or cookie scoop. As you scoop out each ball drop it into coconut mixture or cocoa.
6. Gently sprinkle to cover the top then turn to coat. Place in an airtight container. When all truffles are formed refrigerate for 2 hours until firm. You can store in the refrigerator or freezer but bring to room temperature before serving.

Friday, February 25, 2011

Recipe Review: Primal Stuffed Breakfast Peppers


This is such a fabulous breakfast with gorgeous color to start off your day! I found this recipe on Primal Chaos, a fun blog to read through. I also tried the Coconut Carrot muffins from this blog and thought they were exceptional.


I used 1/4 lb of my own Sage breakfast sausage for this recipe and omitted the tapenade. The peppers came out with some crispness to them, I like them this way (and they are easier to eat on the go) but if you want them softer you could blanch them for 3-5 minutes before filling and baking. I can't wait to try these again!

Tuesday, February 22, 2011

Recipe Review: Chocolate Truffles from The Nourishing Gourmet


When I saw this recipe on The Nourishing Gourmet I had to try it, and am I glad I did! These truffles are as good as the gourmet candy store ones.....the only trick is to stay in moderation, I immediately froze some to keep them safe!

I did change up the recipe a bit... due to what I had on hand, here is my take on this recipe.

Chocolate Truffles from The Nourishing Gourmet

Ingredients:
12 oz of the best chocolate you can find, 85% cocoa or darker (this one is available in most grocery stores) Note: I tried this later with 70% chocolate and liked it much better.
6 T. coconut oil
1 T. vanilla
1/3 c. SCD Whipping Cream, unwhipped
1 c. chopped toasted or soaked almonds

Method:
1. In the top of a double boiler combine chocolate and coconut oil. Stir over low heat until chocolate is completely melted. Remove from heat.
2. Add vanilla and whipping cream to the chocolate mixture, stir until thoroughly combined, about 2 minutes.
3. Transfer the mixture to a small bowl and refrigerate for 2-3 hours or until mixture is set but not hard.
4. Spread almonds onto a small plate, set aside.
5. Using a small melon scoop or cookie dough scoop place balls of truffle mixture onto the plate of almonds, gently sprinkle some nuts over the top until the truffle is covered. You may need to roll it a bit but try to keep the round shape.
6. Store in the refrigerator or freezer.

Sunday, February 20, 2011

Recipe Review: Coconut Carrot Pecan Muffins


I recently discovered Primal Kitchen Chaos and this fabulous muffin recipe. I have never used dates before and I was surprised by the "brown sugar" sweetness they give to these muffins.

I didn't change a thing on this recipe, I only got 9 muffins but they are great!

Monday, October 25, 2010

Beef Lettuce Wraps


Ingredients:

1-2 lbs. beef, boneless steaks or London broil work well
1 tsp. crushed garlic
3 T. olive oil
salt
pepper
cayenne pepper
1 head butter lettuce, washed and dried
cucumber matchsticks
carrot matchsticks
green onion slices
red onion slices
red bell pepper slices
cilantro

Method:
1. Remove beef from packaging, coat with olive oil and crushed garlic. Sprinkle with salt, pepper and cayenne.
2. Let sit till room temperature, about 1 hour.
3. Grill over high temp, remove when meat has reached desired doneness.
4. Slice into thin pieces and arrange on a serving plate.
5. Arrange all vegetables and garnish on another plate along with lettuce leaves.
6. Serve, letting each person put together their own wraps.
7. You could top with your favorite salad dressing or my family likes Thai Sweet Chili Sauce.

Saturday, January 30, 2010

Pizza Buttons


These little gems would make a great appetizer or fun finger food for little ones. My kids are not at all excited about helping out in the kitchen anymore but there was a day when they loved to "help", this is a great one for kids to take part in. Have them tear up the cheese and fill the mushrooms with sauce as well as help eating them!

Pizza Buttons

Ingredients:
12 mushrooms
1/2 c. pizza sauce
2 slices provolone cheese, torn into small pieces
4-6 slices pepperoni, sliced into small pieces
any other toppings you like such as olives, peppers, onions, etc.

Method:
1. Clean mushrooms and remove stems by scooping them out with a spoon so you make an indent in the underside of the mushroom. Place upside down on a baking sheet.
2. Fill each mushroom with 1 heaping tsp. pizza sauce, top with cheese then desired toppings.
3. Bake at 350 degrees for 20 minutes.

Monday, January 25, 2010

Paleo Chili


I am not posting a menu this week due to a crazy schedule and lots of leftovers. If you are looking for something different to warm you up this recipe is a nice change from the traditional chili with beans. I like the spiciness of the broth and the mushrooms give it a thick hearty texture.

Ingredients:

2 T. olive oil
1 onion
2 stalks celery, sliced
1/2 green bell pepper, chopped
1/2 tsp. garlic puree or 1/4 tsp. granulated garlic
salt and pepper
1/2 lb. stew meat, cut into 1 inch cubes
2 c. beef broth
1 1/2 c. tomato juice (Campbells is SCD Legal)
1 can diced tomatoes
2 c. water
1 tsp. dried parsley flakes
1/2 tsp. dried oregano
3 tsp. chili powder
1/4 tsp. cayenne
1/2 tsp. cumin
1/2 tsp. all purpose seasoning such as Spike
1 portabella mushroom cut into 1/1 inch cubes
1 c. chopped fresh spinach leaves

Method:

1. Heat oil in a large stock pot. Add onion, celery, bell pepper, garlic and salt and pepper. Saute' until onion is translucent. Add beef. Continue stirring every few minutes until meat is browned.

2. Add broth, tomato juice, tomatoes, water and all seasonings. Simmer, uncovered for 1 hour over very low heat, adding more water if the broth gets too thick.

3. Add mushroom and spinach and simmer 10 minutes longer, serve immediately.

Friday, January 15, 2010

Lemon Thumbprint Cookies


These little lemon cookies are quick to make, gluten and grain free and have a healthy frosting to boot. What more can I say? This frosting was originally posted here on Nourishing Days. I changed the orange to lemon flavor and it turned out wonderful. What is really important is that they passed the kid test. My 9 year old asked if I would make some more!

Lemon Thumbprint Cookies

Cookie Ingredients

1 c. almond flour
1/3 c. coconut flour
1/2 tsp. salt
2 T. melted butter, coconut oil or grape seed oil
2 T. honey
2 tsp. vanilla
1/4 tsp. almond extract
1 T. water
1 tsp. grated lemon peel

Frosting Ingredients

1/2 c. coconut oil
pinch of salt
1/2 - 1 tsp. grated lemon peel
1 tsp. vanilla
2 tsp. honey

1. Combine the flours, salt, oil or butter, honey, vanilla, almond extract, lemon peel and water. Stir until thoroughly mixed.

2.Pinch off a small amount of dough (about 2 tsp.) and roll into a ball. Place on a cookie sheet that has been lined with parchment. Make an indent in the middle of the cookie with your thumb.

3. Repeat until baking sheet is full. Bake at 325 degrees for 7-9 minutes or until just barely turning brown. Cool completely.

4. For the frosting melt coconut oil then combine remaining ingredients. Stir with a whisk. Place in the freezer for 2 minutes, stir again. Continue stirring in 2 minute intervals until it becomes cloudy. At this point remove from the freezer and whisk until creamy. Frost cookies immediately as frosting sets and is no longer spreadable. If this happens and you are not finished simply reheat and begin cooling process again.

Sunday, January 10, 2010

Egg Scramble with Spinach and Tomatoes

Here is a fun recipe to try if you like (or can have) eggs. I like the delicate spiciness of it for breakfast, it really picks you up if you are having a hard time getting moving.


Egg Scramble with Spinach and Tomatoes

Ingredients:
2 tsp. toasted sesame oil
2 eggs
2 tomatoes, peeled (see notes)
1 c. baby spinach leaves
1 green onion, sliced thin
1/4 tsp. grated or pureed ginger (I buy the kind in a jar in the refrigerated produce section)
1/4 tsp. salt

Combine eggs in a small bowl with the salt. Stir with a fork until uniform. Heat 1 tsp. oil in a heavy pan over medium heat. Add egg mixture and scramble until done, remove from pan. Heat the other tsp. of oil in the pan, add tomatoes, onion, and ginger. Cook 1-2 minutes until heated through, return eggs to the pan with spinach leaves. Cook 1 minute until spinach wilts and eggs are heated. Serve immediately.

Note: One quick method for peeling a tomato is to let it sit in hot (almost boiling) water for 1-2 minutes. Remove from water and the peel comes off easily.

Wednesday, January 6, 2010

10 Minute Chicken Thai Soup


This soup has a unique blend a flavors that is perfect for this time of year. Warm, nourishing, flavorful and fast, just what I need this week!

10 Minute Chicken Thai Soup

3 c. chicken broth, homemade is best but if that is not an option for you look for msg free broth
1 c. coconut milk
3 c. cooked chicken, diced
1/8 tsp. cayenne pepper
1/2 tsp. ground ginger
1 T. fish sauce (check ingredients for no added sugar)
2 T. lime juice
4 scallions thinly sliced for garnish

Combine all ingredients except scallions and simmer 5 minutes. Serve into bowls and top with scallions.

Cooks Note: I found this a great soup to make as I make my broth. I take the chicken out after 12 hours in the crock pot and debone it. Then put everything but the meat back into the broth and cook for another 12 hours. Finally I strain the broth. This recipe works to use up the chicken and some of the broth, the rest of the broth can be frozen to use in other recipes.

Monday, January 4, 2010

Recipe Review: Coconut Flour Orange Cake with Coconut Oil Frosting from Nourishing Days


A healthy dessert? Is it possible? Does it taste good? I think I have found the answer to these questions at Nourishing Days, another of my favorite blogs. This Coconut Flour Orange Cake with Coconut Oil Frosting covers all of the above, it is very nourishing and good for you (see this post on oils from SCD Girl and her Kid) and the taste? Let's just say I am in love, a slight hint of coconut with orange, so refreshing, I think I might try it with lemon sometime as well.

I used honey instead of stevia as suggested in the recipe. I also replaced the baking powder with a scant teaspoon of baking soda and it turned out beautiful. Baking powder is not allowed on the SCD due to added starches but can easily be replaced with baking soda and bit of something acidic (usually lemon juice but with citrus already in this recipe it wasn't needed). Thanks Nourishing Days!

Thursday, December 24, 2009

Orange Cinnamon Ginger Toasted Almonds

This recipe is great for snacking on the go. It is barely sweet and combines the flavors of ginger, cinnamon, and orange.

Orange Cinnamon Ginger Toasted Almonds

Ingredients:
2 c. Sprouted Almonds
1 T. honey
2 T. olive oil
7 drops Sweet Orange Essential Oil
3/4 tsp. ginger
1/2 tsp. cinnamon

Method:
1. Preheat oven to 300 degrees.
2. In a large bowl combine all ingredients except almonds.
3. Add almonds and stir until coated.
4. Spread almonds onto a large baking sheet. They should be in a single layer.
5. Bake 20-30 minutes stirring every 10 minutes. They will be sticky when done but after they cool they should be dry. If they are still sticky after cooling bake again in 10 minute intervals.

Monday, December 21, 2009

Candied Pecans


We have been eating these like crazy at my house, they are so light and just slightly sweet, everyone loves them!

Candied Pecans

Ingredients:
4 c. sprouted pecans
2 T. Just Whites (you can substitute 3 egg whites and omit the water)
6 T. water
1/4 tsp. salt
1/3 c. honey (if your diet allows maple syrup can be substituted for the honey)
1 tsp. cinnamon

Method:
1. Combine Just Whites and water in a large bowl. Whisk together then let sit 5 minutes (if using egg whites skip this step)
2. Prepare a cookie sheet by lightly oiling with olive or coconut oil.
3. Add salt to whites and beat with an electric mixer until stiff.
4. Add honey and cinnamon and beat 1 more minute.
5. Stir in pecans, continue stirring until all nuts are coated. Pour onto prepared cookie sheet.
6. Bake at 170 degrees for 3-4 hours or until dry, stirring every 30 minutes.
7. Cool completely and store in an airtight container. I know they keep well a week or so but we keep eating them so fast none have lasted us longer than that.

Monday, November 23, 2009

Leftovers Oriental Salad or Wraps


We have had 2 of our 3 Thanksgiving dinners now, I cooked a turkey with the trimmings last week, on Sunday we celebrated with my side of the family and this week we will celebrate with my husband's side. How lucky is that? Here is a great recipe to use up all the turkey leftovers (and the leftovers from the veggie tray), it tastes great with chicken too.

Leftover Oriental Salad

1 recipe Oriental Dressing (from Nourishing Traditions Cookbook)
2 c. chopped leftover poultry meat
assorted leftover raw veggies; green onion, red bell pepper, celery, shredded carrots, steamed broccoli, etc.
1 c. steamed white rice (omit if your diet doesn't allow grains)
2 T. toasted sesame seeds
5-6 c. torn or finely cut romaine lettuce leaves

Combine everything but the dressing and lightly toss. Top with dressing (you probably won't use all of it) and serve immediately.

Leftover Oriental Lettuce Wraps

1 recipe Oriental Dressing (from Nourishing Traditions Cookbook)
3 c. chopped leftover poultry meat
assorted leftover raw veggies; green onion, red bell pepper, celery, shredded carrots, steamed broccoli, etc.
2 c. steamed white rice (omit if your diet doesn't allow grains)
2 T. toasted sesame seeds
1 head romaine lettuce, wash and separate the leaves
hot chili sauce

Combine the meat and veggies with 3/4-1 c. dressing. The mixture should be wet. Refrigerate 1 hour then top with sesame seeds. To serve take a lettuce leaf and fill it with equal parts rice and meat mixture then garnish with chili sauce.

Sunday, November 8, 2009

My All Time Favorite Pie Crust from Comfy Belly


I have referenced this recipe before but it is so versatile I thought it deserved it's very own post. In the past week I have made pumpkin pie, chocolate cream pie, quiche and chicken pot pie all with the same crust.

The recipe is here at Comfy Belly. If I half the recipe and place all the ingredients in the pie pan and mix them up with my hands then press the dough into the pan I get a perfect crust every time. I do substitute Spectrum Shortening for the butter.

The pumpkin pie recipe is here and it is good enough to serve your Thanksgiving guests. I did bake the crust for 10 minutes before adding the pie filling.

For the quiches I made them in individual sized dishes. I baked the crust at 375 degrees till it was firm (10 minutes) then added the filling and baked it at 325 degrees until it was done.

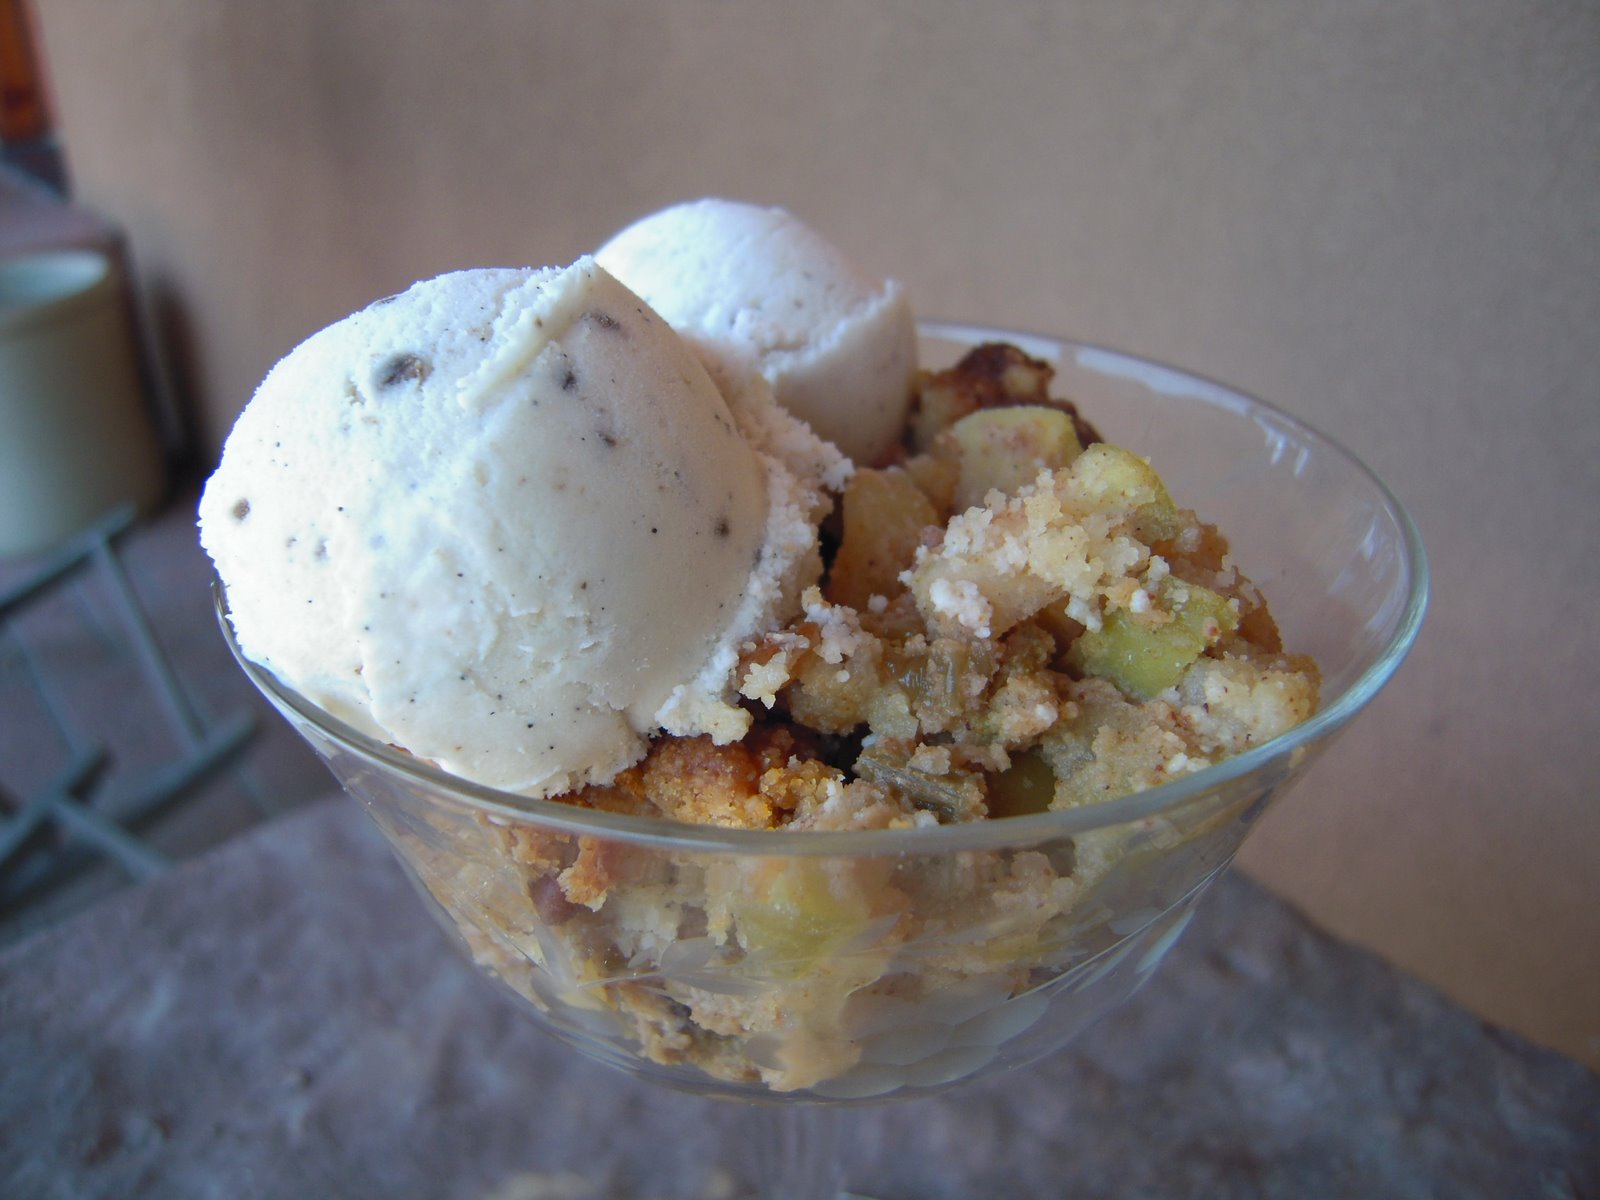
They turned out great and I think it would be fun to let the kids add their own filling ingredients next time. This is one recipe that will go on the inside of my cupboard door because I use it so often. Next experiment, I am going to try adding cocoa powder and making chocolate tarts!